
GoHighLevel Webhook Integration: Setup, Automation & Triggers
You’re running a service business with GoHighLevel. A prospect fills out a form on your website. You want that lead to land in your CRM automatically, triggering a welcome email and SMS. Manual data entry kills productivity—webhooks eliminate it.
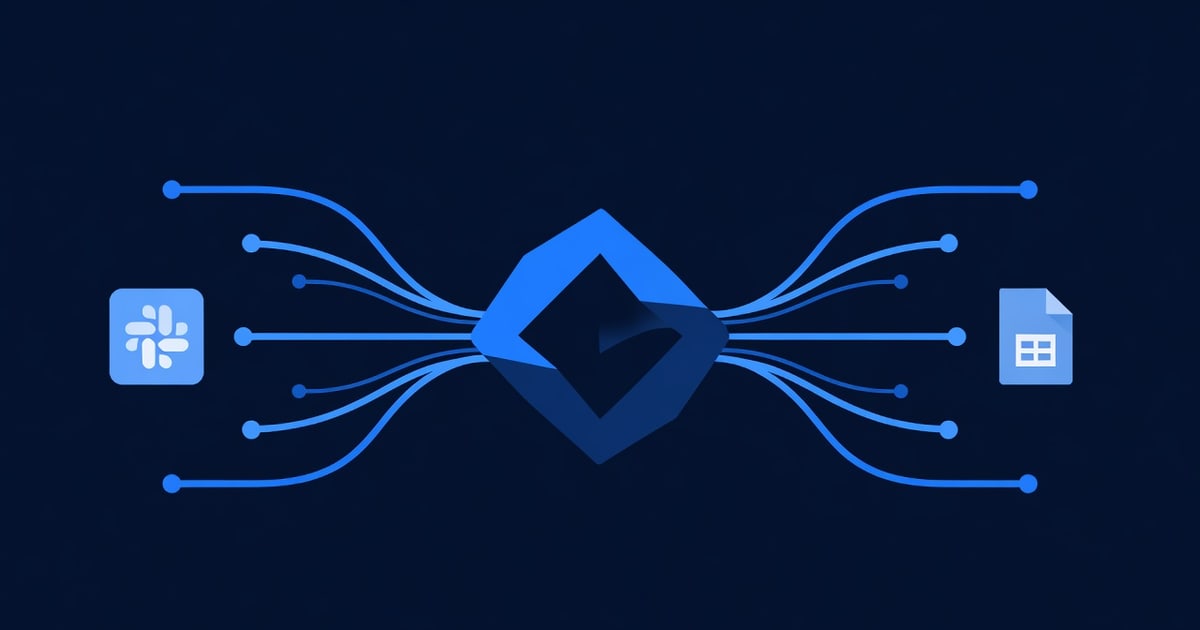
A webhook is a simple HTTP request that sends data from an external system (your website form, calendar app, accounting software) directly into GoHighLevel. No copy-paste. No delays. Real-time automation.
This guide walks you through webhook setup, real-world triggers, testing, and troubleshooting. By the end, you’ll have 3–5 automated workflows saving you 10+ hours per week.
Key Takeaways
- A webhook is a URL that receives data via HTTP POST. When triggered (form submission, calendar event, payment), it sends contact info to GoHighLevel and fires an automation instantly (GoHighLevel Docs, 2026).
- Setup takes 20 minutes: (1) Create webhook in GoHighLevel, (2) Copy webhook URL, (3) Paste URL into your form/app, (4) Test with sample data, (5) Monitor delivery. No coding required.
- Common triggers: website form submission, calendar booking confirmation, payment received, Zapier action, third-party app event. Each trigger can fire a different automation (welcome email, SMS, tag assignment, lead scoring).
- ROI: One webhook automation replaces 5–10 hours/month of manual data entry. Cost: $0 (included in all GHL plans). Time to ROI: 1–2 weeks of active use.
- Security: Store webhook URLs in password managers. Validate incoming data. Rotate secret tokens every 90 days. Never paste raw URLs in public code or email.
What Is a Webhook? (And Why You Need One)
A webhook is an automated HTTP request triggered by an event. When something happens (form submitted, payment confirmed), the webhook sends data to a URL you control, which then updates your CRM and fires automations.
How Webhooks Save Time
Without webhooks (manual process):
1. Prospect fills form on your website
2. You receive email notification
3. You log into GoHighLevel
4. You manually create contact record
5. You copy-paste form data (name, email, phone)
6. You tag contact or assign to team member
7. You trigger follow-up email manually
Time per lead: 5–10 minutes
With webhooks (automated process):
1. Prospect fills form on website
2. Webhook fires instantly → sends data to GoHighLevel
3. Contact created automatically with all fields populated
4. Automation fires immediately (welcome email + SMS)
5. Lead is tagged and assigned to team member
Time per lead: 0 minutes (fully automated)
Time saved: 5–10 minutes per lead × 20 leads/month = 100–200 minutes/month = 2–3 hours/month minimum. For high-volume businesses (100+ leads/month), webhooks save 10–20 hours/month.
Webhook Architecture: How Data Flows
Before setup, understand the flow:
Your Website Form
        ↓
    Form Submitted
        ↓
Webhook URL Triggered
(POST request with form data)
        ↓
GoHighLevel Receives Data
        ↓
Contact Created/Updated
        ↓
Automation Fires
(Send email, SMS, tag, score)
        ↓
Lead Enters Your Sales Funnel
Key point: The webhook is just the data bridge. The automation is what does something with the data.
Setup: 5 Steps (20 Minutes)
Step 1: Create Webhook in GoHighLevel (5 Minutes)
- Log into GoHighLevel → Go to Automations → Click Create Automation
- Trigger → Click Add Trigger → Search Webhook
- Select Webhook Trigger
- Name:
Form Submission - Website Lead Capture(descriptive) - Click Create (GoHighLevel generates a unique webhook URL)
- Copy the webhook URL (looks like:
https://api.gohighlevel.com/webhooks/XXXXX/YYYYY) - Save this URL in a password manager (1Password, LastPass, Bitwarden) — you’ll need it in Step 3
✓ Done: Webhook created. Now add automation actions to it.
Step 2: Configure Automation Actions (5 Minutes)
Once webhook is created, add what happens when it fires:
- Click Add Step → Create Contact (auto-populate fields from webhook payload)
- Map fields:
Webhook Data: first_name→ Contact Field: First NameWebhook Data: last_name→ Contact Field: Last NameWebhook Data: email→ Contact Field: EmailWebhook Data: phone→ Contact Field: Phone
- Click Add Step → Send Email
- Select: Welcome Email template (or create one)
- Click Add Step → Tag Contact → Tag:
Website Lead - Click Add Step → Assign to Team Member (optional)
- Assign to: Round-robin or Specific person
- Click Save Automation
Step 3: Get Webhook URL from Form/Website (5 Minutes)
Now paste the webhook URL into your form builder (or website code).
If Using GoHighLevel Forms (Built-In)
- In GoHighLevel, go to Forms → Select or create a form
- Go to Settings → Integrations
- Click Add Integration → Webhook
- Paste webhook URL from Step 1
- Save
If Using External Form (Typeform, Jotform, Gravity Forms, etc.)
Each form builder has a “webhooks” or “integrations” section. Here’s how for common platforms:
Typeform:
- Create form
- Go to Settings → Integrations
- Click Webhooks
- Paste GoHighLevel webhook URL
- Test trigger (Typeform sends sample data)
Jotform:
- Create form
- Go to Integrations
- Search Webhook
- Paste GoHighLevel URL
- Save
Gravity Forms (WordPress):
- Create form
- Go to Form Settings → Integrations
- Click Add Webhook
- Paste URL
- Map fields (Name → Email → Phone)
- Save
Your Website (Custom HTML Form):
- Locate your form code (HTML
<form>element) - Change form
actionattribute to the webhook URL:<form action="https://api.gohighlevel.com/webhooks/XXXXX/YYYYY" method="POST"> <input type="text" name="first_name" /> <input type="email" name="email" /> <button type="submit">Submit</button> </form> - Save and test
Step 4: Test the Webhook (3 Minutes)
- Test with sample data: Use Postman, curl, or your form builder’s test feature to send sample data to the webhook URL
- Check GoHighLevel: Go to Contacts → Verify a test contact was created with correct data
- Check automation history: Go to Automations → Select your webhook automation → Click History → Verify automation fired (email sent, tag applied)
Expected result: Test contact appears in GoHighLevel with all fields populated. No manual data entry.
Step 5: Monitor Delivery (2 Minutes)
- Go to Automations → Select your webhook automation
- Click History → View webhook delivery logs
- Verify:
- Webhook Received: ✓ (green checkmark)
- Contact Created: ✓
- Email Sent: ✓
- Tag Applied: ✓
If any step shows red X: Click for error details. Common errors are covered in the troubleshooting section below.
Real-World Webhook Triggers

Beyond website forms, webhooks can trigger from dozens of events. Here are the most useful:
Trigger 1: Calendar Booking Confirmation
When a prospect books an appointment in Calendly or Acuity Scheduling, webhook fires → GoHighLevel sends confirmation SMS.
Setup:
- In Calendly/Acuity, enable webhooks (Settings → Integrations)
- Add GoHighLevel webhook URL
- Select event: Booking Confirmed
- In GoHighLevel automation, set action: Send SMS → “Your appointment is confirmed for [date/time]“
Trigger 2: Payment Received
When a client pays via Stripe or PayPal, webhook fires → GoHighLevel tags them as “Paid” and moves them to a “Clients” pipeline.
Setup:
- In Stripe dashboard, go to Developers → Webhooks
- Add endpoint: Paste GoHighLevel webhook URL
- Select events: payment_intent.succeeded
- In GoHighLevel, add automation action: Tag Contact →
Paid Client
Trigger 3: Zapier Action
Combine GoHighLevel with 1000+ apps via Zapier. When something happens in Slack, Notion, Google Sheets, etc., webhook fires in GoHighLevel.
Setup:
- In Zapier, create a Zap
- Trigger App: Select any app (Slack, Google Forms, Typeform, etc.)
- Action App: Search Webhooks by Zapier → Send JSON to URL
- Paste GoHighLevel webhook URL
- Map fields and activate Zap
Advanced: Webhook Payload Mapping
When data arrives via webhook, you need to map it to GoHighLevel fields. This is called “payload mapping.”
Understanding Webhook Payloads
A webhook payload is the JSON data sent to your webhook URL. Example:
{
  "first_name": "John",
  "last_name": "Doe",
  "email": "[email protected]",
  "phone": "+1-555-0123",
  "message": "I'm interested in your service",
  "source": "Website Form"
}
In GoHighLevel’s webhook trigger, you map each JSON field to a contact field:
| Webhook Field | GHL Field | Example |
|---|---|---|
first_name | Contact First Name | John |
email | Contact Email | [email protected] |
phone | Contact Phone | +1-555-0123 |
message | Custom Field: Inquiry | I’m interested… |
source | Custom Field: Lead Source | Website Form |
Mapping: Click Add Field → Select webhook field → Select GHL field → Save.
Custom Fields via Webhook
If your webhook includes custom data (company size, budget, timeline), map it to GoHighLevel custom fields:
- In GoHighLevel, go to Settings → Custom Fields → Create fields for:
Company_SizeBudget_RangeTimeline
- In webhook automation, map:
company_size(from webhook) → Custom Field: Company_Sizebudget(from webhook) → Custom Field: Budget_Range
Troubleshooting: Common Issues

Issue 1: Webhook URL Not Working (No Contacts Created)
Symptoms: Form submitted, but no contact appears in GoHighLevel.
Fix:
- Verify webhook URL is correct (check for typos)
- Verify form is actually sending data (check form platform’s logs)
- In GoHighLevel → Automations → Select webhook → History → Check for error message
- If error: click it for details (e.g., “Missing required field: email”)
Solution: Add the missing field to your form or webhook payload.
Issue 2: Contacts Created But Automation Didn’t Fire
Symptoms: Contact appears in GoHighLevel, but email didn’t send / tag didn’t apply.
Fix:
- Go to Automations → History → Click contact → Check error log
- Common causes:
- Email field empty (automation needs valid email to send)
- Phone field empty (if SMS is an action)
- Tag name misspelled
- Solution: Update automation or form to require/validate fields
Issue 3: Duplicate Contacts Created
Symptoms: Same person fills form twice → Two contacts created instead of one updated.
Fix:
- In GoHighLevel automation, go to Create Contact step
- Enable Duplicate Check: “If contact with this email exists, update instead of create”
- Save
Now, if [email protected] submits twice, only one contact exists (updated with latest data).
Security: Protect Your Webhook
Best Practices
- Store webhook URLs securely: Use 1Password, LastPass, or Bitwarden (never in email or Slack)
- Validate incoming data: Check sender IP, add secret tokens, require HTTPS
- Rotate tokens every 90 days: Go to Settings → API Keys → Regenerate
- Never paste webhook URLs in public code: If your source code is on GitHub, others can see the URL and spam your CRM
- Limit webhook actions: Only allow specific automations (don’t let webhooks delete contacts or change passwords)
Add Secret Token (Advanced)
GoHighLevel supports webhook authentication via headers. When form sends data, include a secret token:
POST https://api.gohighlevel.com/webhooks/XXXXX/YYYYY
Header: Authorization: Bearer YOUR_SECRET_TOKEN
Body: { "first_name": "John", "email": "[email protected]" }
This prevents random people from triggering your webhooks.
FAQ
Q: Can one webhook trigger multiple automations?
A: No. One webhook = one automation. If you need multiple actions (email + SMS + tag), add all actions within the single automation using multiple “Add Step” clicks.
Q: How many webhooks can I create?
A: Unlimited. Pro and Unlimited plans both support unlimited webhooks.
Q: What if the webhook data has special characters (apostrophes, emojis)?
A: GoHighLevel handles UTF-8 encoding. Special characters work fine. Test with sample data to verify.
Q: Can I send webhook data to a custom field?
A: Yes. When mapping fields, select any custom field you’ve created in Settings → Custom Fields.
Q: What’s the webhook latency (how fast does data arrive)?
A: Typically <500ms. Form submission → webhook fired → contact created in GoHighLevel within 1–2 seconds.
Next Steps
You now have a working webhook automation. Here’s what to do next:
- Test with real data: Have a team member fill your form and verify the automation fires
- Scale to multiple triggers: Create webhooks for calendar bookings, payment confirmations, and Zapier actions
- Monitor delivery: Check Automations → History weekly to verify webhooks are firing reliably
- Explore advanced setup: Read our guide on GoHighLevel Twilio Integration: SMS Workflows & Compliance to add SMS to your webhook automations
- Need help? Check GoHighLevel’s API documentation or contact GoHighLevel support
Ready to automate your lead capture? Upgrade to GoHighLevel Pro or Unlimited to unlock unlimited webhooks, automations, and integrations.
Built by agricidaniel - Join the AI Marketing Hub community 🆓 Free → https://www.skool.com/ai-marketing-hub ⚡ Pro → https://www.skool.com/ai-marketing-hub-pro